
Hello, all. In this article, I will be showing you how to make one of the most useful products known to man. I am talking, of course, about charcoal.
You might be surprised at just how many uses this stuff has. You can use it to purify your drinking water, replace your aquarium filter for free, build a fire hot enough to melt steel, make some gunpowder, dye just about anything black, make your own ink, make your own pencils, press your own grill charcoal, or dehydrate something for preservation.
For instance, if your phone gets dropped in the water (like a toilet, pond, or a fish tank), you can put it in a bag of charcoal for a day or two and the charcoal will suck out all the moisture, thus saving your device.
Not only can charcoal save your electronic devices, it can also save your life, as it did mine once. Really, that's no joke. If you are suffering from any kind of digestive poisoning, a glass of tea with a spoonful of powdered softwood charcoal in it will cure you.
As the charcoal travels through your system, it absorbs toxins and carries them out of the body. This makes it a near-universal antidote, which is why medical professionals still use activated carbon (basically the same thing as softwood charcoal) for the same purpose. Of course, you will experience some nasty black bowel movements, but hey, better out than in.
So once again, remember this: If you get poisoned in any way, use this stuff. A spoonful in a glass of tea, up to three times daily.
As you can see, there are many uses for charcoal. The above-listed uses are just the things I have used it for. Depending on your needs and habits, you may be able to find other uses for it as well.
So, now that you know how useful charcoal is, you might be wondering: "why don't I just buy it?" Well, if you're a cheap-ass like me, you aren't even asking that question. But, in case you are otherwise, let me tell you the problem with store-bought charcoal...
IT IS ONLY GOOD FOR ONE THING.
That one thing is grilling out. Store-bought charcoal is only made for one thing, and so it is only good for that one thing. If all you want to do is grill up a steak out back, by all means go ahead and buy your charcoal. But, if you are doing anything other than cooking, you will need to make your own.
So, without further ado, here is the process:
Step 1: Make Your Cooker
Okay, let's just go over the basic idea of charcoal-making. In order to understand how this stuff is made, you just need to understand this:
When you burn wood in the open air, it turns to ash. When you burn wood in a closed space, it turns to charcoal, and then to ash. So, this means we need to burn some wood in an enclosed space, and we must not let it cook long enough to become ash.
Find Your Container
This "enclosed space" will be your cooker. It should simply consist of a metal container with a lid, and with one small hole cut in the lid. Old baking tins work well. I just found a small steel box and stuck my knife through the lid.
Notice that the lid does not fit on there all that tightly. That is how it's supposed to be.
Make Sure to Poke a Hole on Top
It is VERY important that you give your container a hole in the top, and a loose-fitting lid. This is because, as the wood burns inside that box, it is going to give off flammable methane gas. If that methane is allowed to build up too much, it could result in an explosion. But if your lid is loose-fitting, the worst that could happen is the lid popping off. I have never even had that happen.
This process is pretty safe, but like I said, make sure you understand the need for proper ventilation of the cooker!
Add a Cage Around It
As a final step, take a coat hanger and wrap it around the box, with the hook on top so that you can easily move it in and out of the fire.
Note that I have left one side unattached. This is so I can bend it down and pull the box out of the "cage" easily. When it is too hot to touch, a long stick is used to move it in and out of the fire. Did I mention we were going to build a fire? No? Well, we are...but not yet.
You may notice that my cooker is very small. This is because, when I use charcoal, I rarely use more than a little at a time, so i don't make it in mass quantities. If you wish to make it in mass quantities, I recommend a steel barrel.
Step 2: Select & Prepare Your Wood
Once your cooker is ready, the next step is to figure out what kind of wood you want to use. Since you are new to this, you probably have no idea how to choose, so I will help you.
First, think about what this charcoal will be used for. There are two basic kinds of wood in the world: hardwood and softwood. For some purposes, a softwood charcoal is better. For some other uses, a hardwood charcoal is better.
A Quick Guide: Hardwood vs. Softwood
Charcoals made from hard woods like Oak, Walnut, Hickory, and Beech are better for metalworking, and for pressing your own backyard grill briquets. This is because hard woods burn hotter. Correspondingly, charcoals made from hard wood will burn significantly hotter than charcoals made from soft wood. If you are making charcoal pencils, you will want a hardwood charcoal so that the product will be more resistant to breakage. So, if your purpose involves burning the charcoal once you have made it, or using it to make pencils, you want a hardwood.
Charcoals made from soft woods like Pine, Willow, Balsa, or Poplar make for a more porous, more absorbent charcoal, and so they are better for water filtration/purification, because they do a better job of absorbing impurities. Softwood charcoals are also better for gunpowder-making because they mix more easily with the other ingredients. If you are using your charcoal as a desiccant (to dry something out, such as the cell phone in the example up top), a softwood charcoal will work better.
To Sum It Up...
Hardwood charcoals burn hotter and hold together better. Softwood charcoals do a better job of absorbing things. So, to figure out which kind of charcoal you want, figure out what you are going to use the charcoal for, and you will have your answer. It might be that you need to make both kinds, but I leave that up to you.
Finding & Prepping Your Wood
Once you have decided on hardwood or softwood, it is a simple matter to find the right kind of wood. I recommend doing it the old fashioned way, which is learn how to identify the tree you're looking for, go out in the woods and find out, and cut the wood you need. Never use rotten wood for charcoal. Green wood is also not advisable. Your wood should be seasoned but not rotten.
If you have no trees in your area, you could buy some cheap dowels from the hardware store and cut them up. For the record, I am using seasoned willow.
The best way to have a lot of charcoal wood is to cut a big piece of the proper kind of tree and just keep it under your porch for awhile. Then, whenever you want some charcoal wood, you can just chop some off and use it.
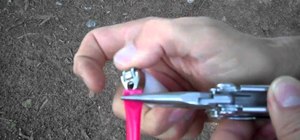
Which brings me to the preparation of the wood: You will need to chop the wood into small chips so as to stuff it into the cooker.
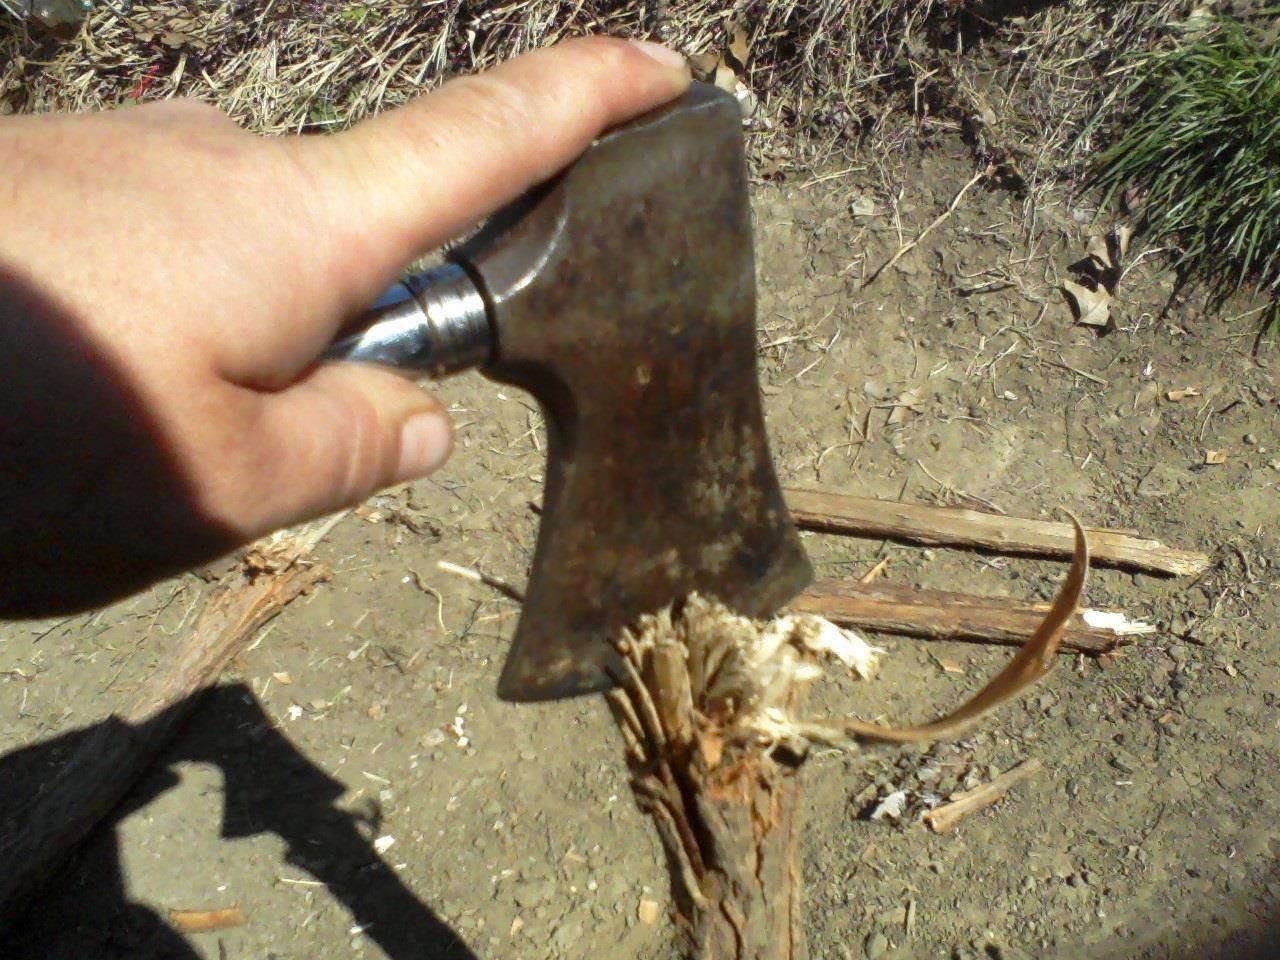
Use a hatchet to split each piece as many times as you can. Do this by working the hatchet into a groove, and then hitting the hatchet against the ground to "hammer" it down. Observe:
If there is no groove for you to put the hatchet into, make one. You have an axe, for god's sake, so it shouldn't be too hard.
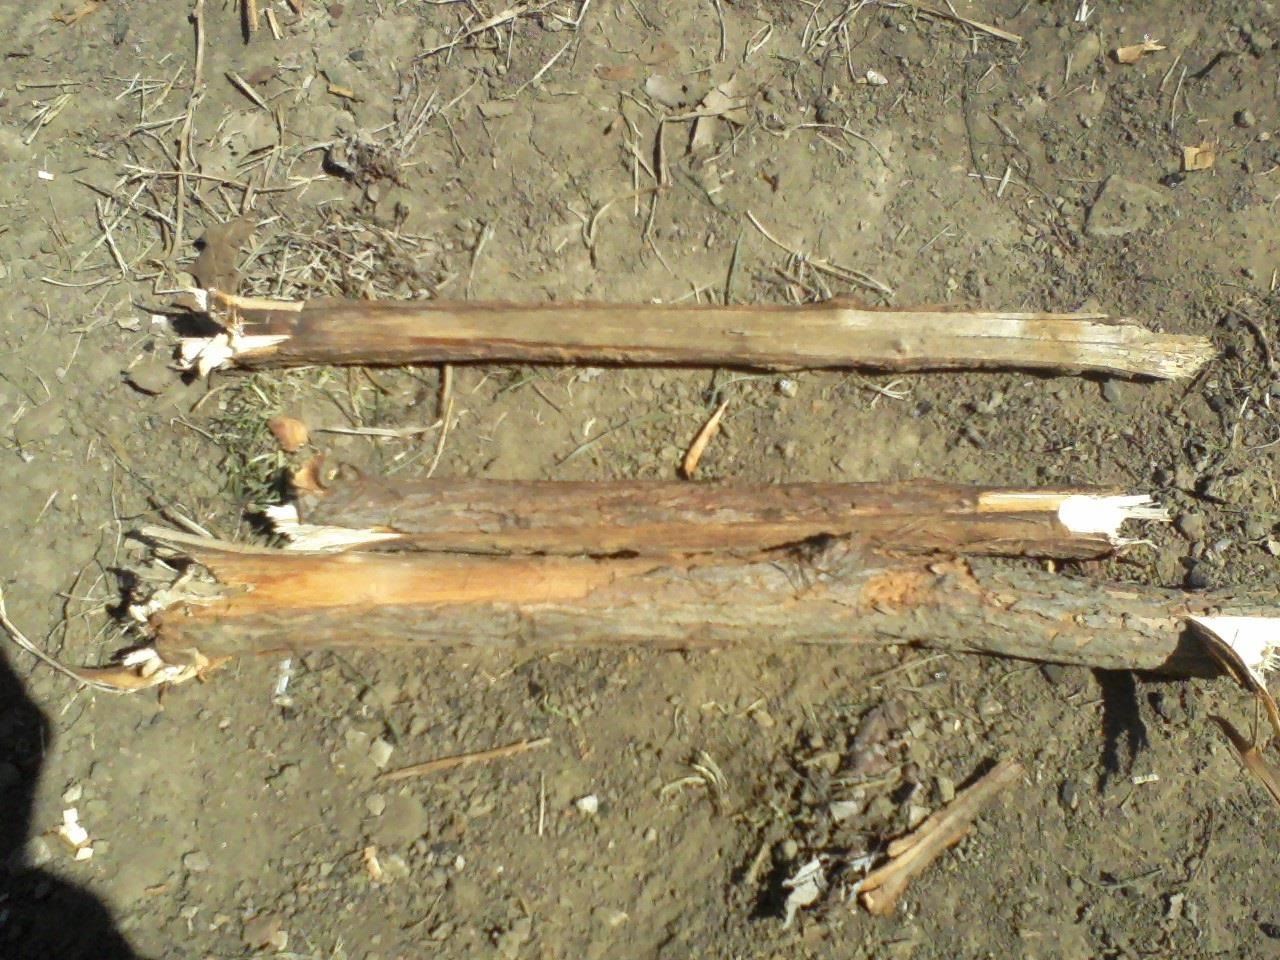
Once the big pieces have been split into thin pieces, it should be easy to chop them up into smaller, twig-sized pieces. In fact, if you don't have little pansy hands, you can probably just snap them into small pieces, about this size:
Step 3: Cook the Charcoal
For a start, just scoop up all those little wood pieces and put them in your cooker.
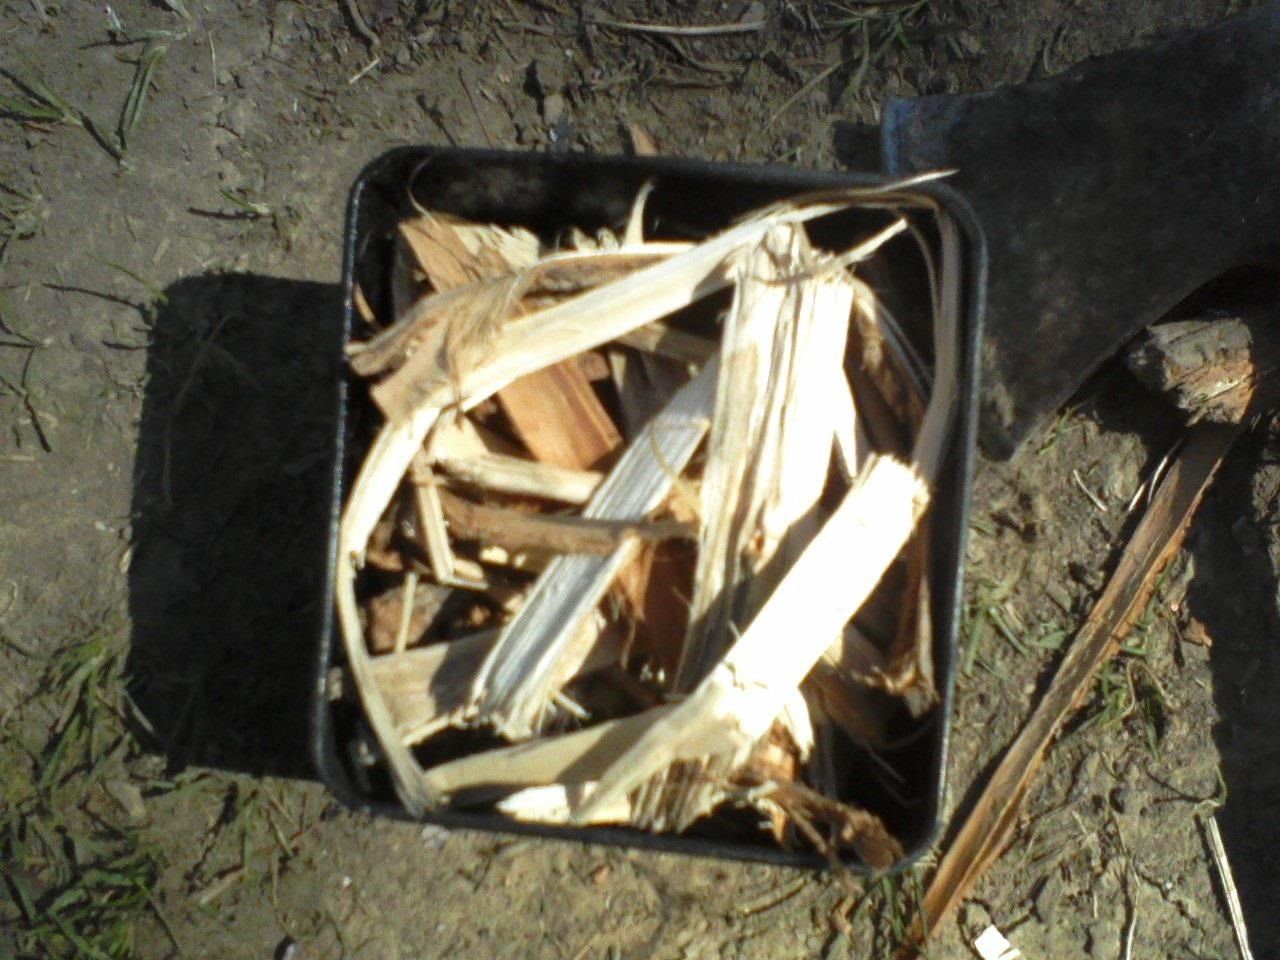
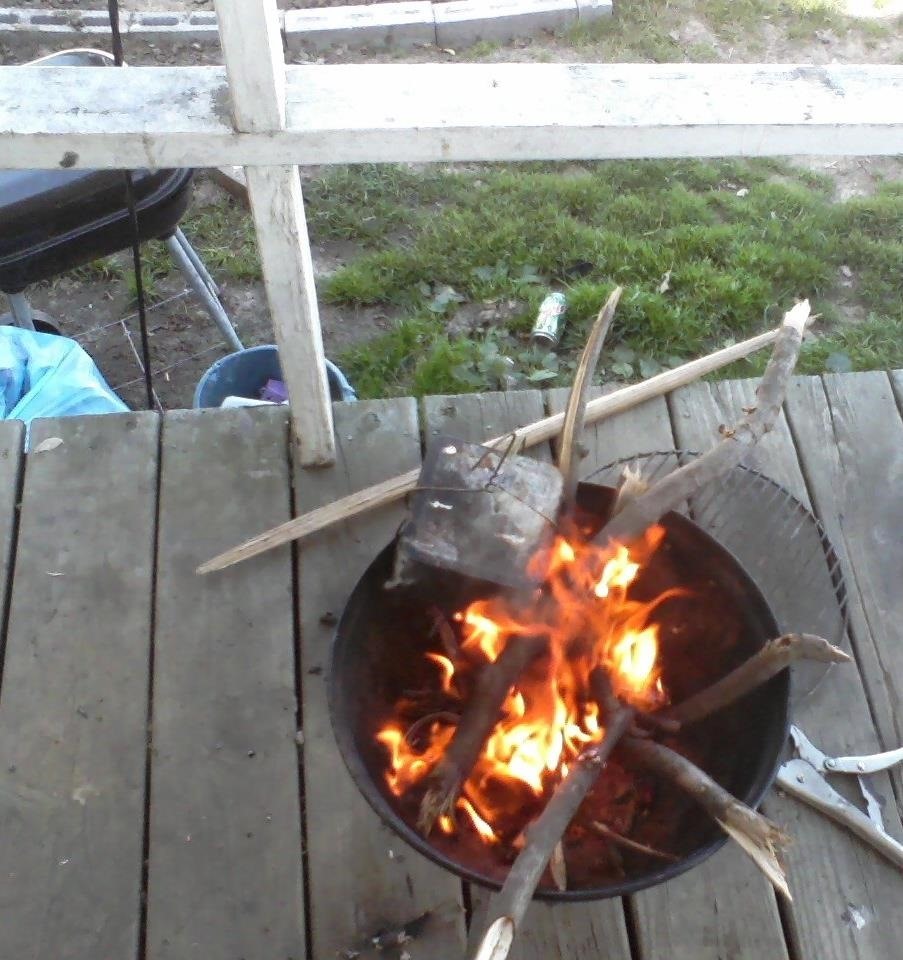
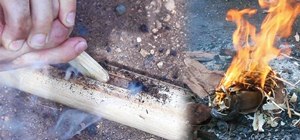
Stuff the cooker as full as you can. Now, all you have to do is put the lid on and stick the cooker in a good roaring fire. As I said before, you will need to build a fire, and use a stick to move the cooker into the fire.
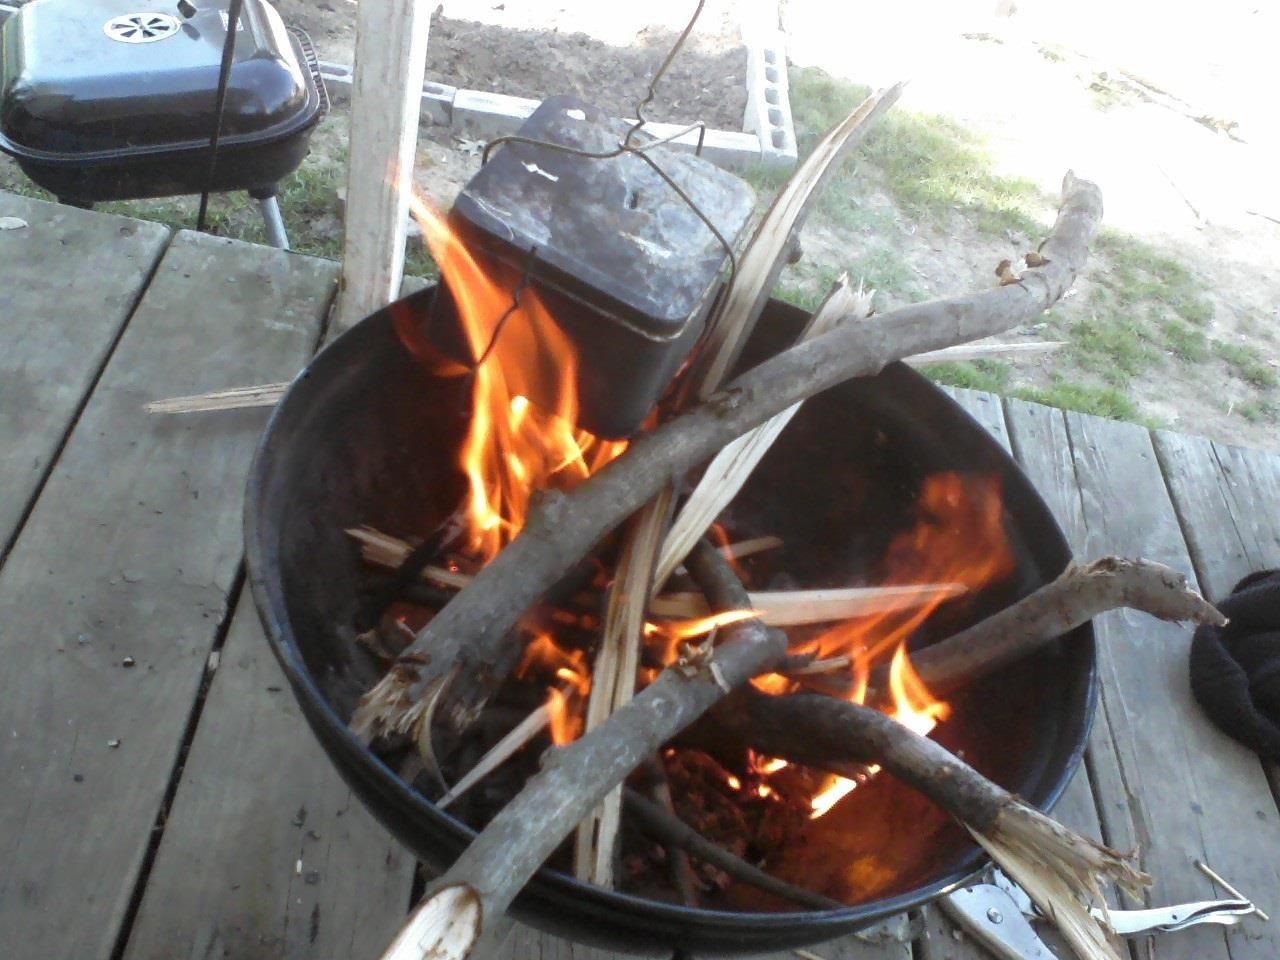
Also, use the stick to make sure that the cooker stays directly in the flame, like it is in this picture. Now, as you can see here, there is no smoke or fire coming out of the hole in the cooker. This is because I have just put it on the fire.
As it begins to cook, a white smoke will begin to come out of the top hole and also from under the sides of the lid.
After a little longer, this smoke will become highly flammable.
And your cooker will become like a little methane lamp.
Stay by the fire and watch it carefully. When the fumes are no longer flammable, the charcoal is done. You can test this by taking a flaming stick from the fire and putting it up to the top hole.
Take it out of the fire immediately, but DO NOT remove the lid yet. If you expose the charcoal to the open air at this point, it will turn to white ash. Leave the lid on until the container is completely cool.
Now, just bend back that loose wire on the cage:
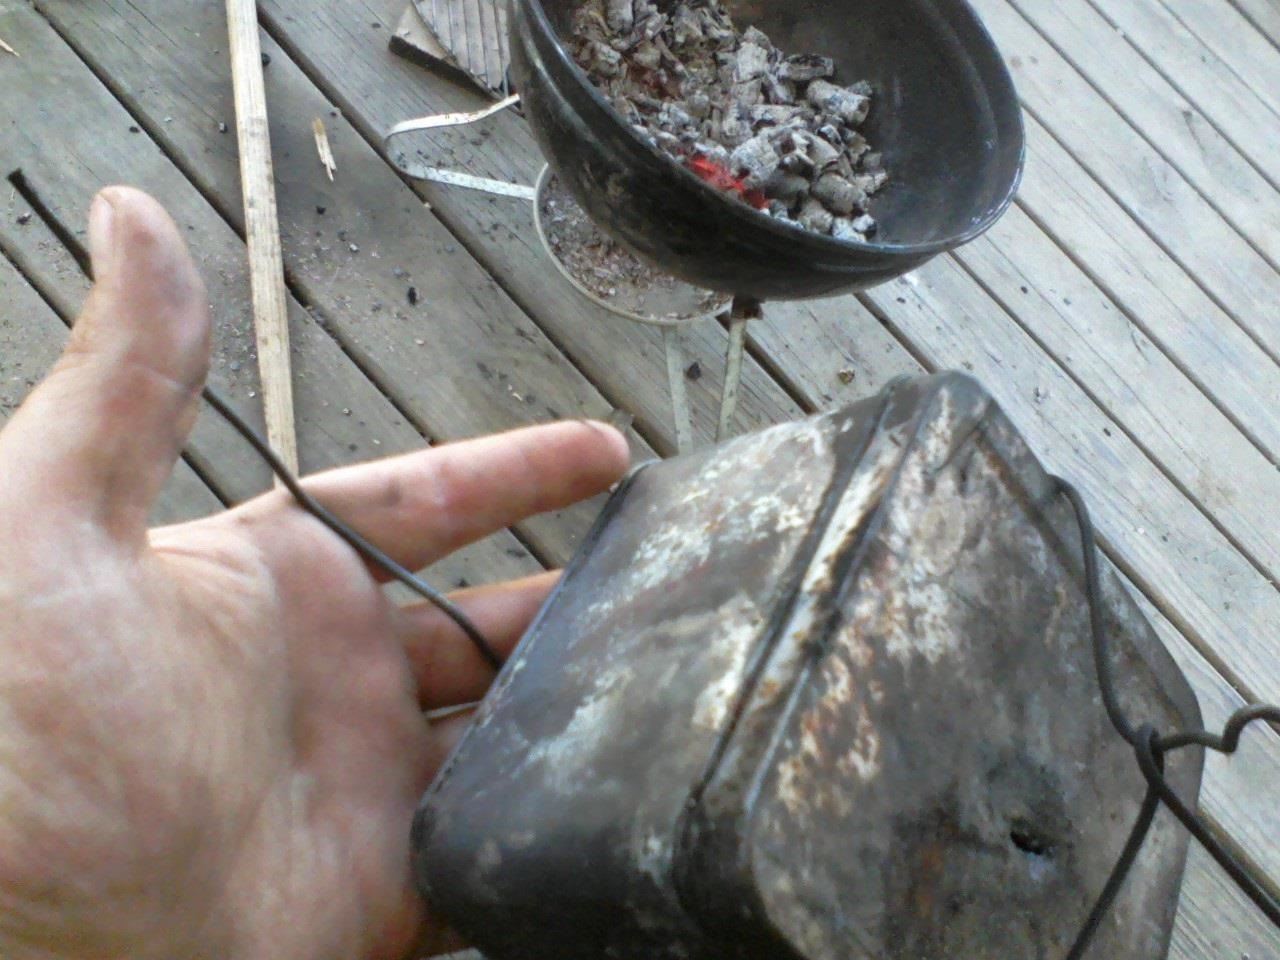
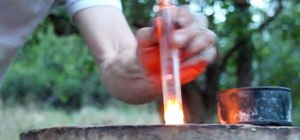
And pull the container free. Make sure that the whole container is cool to the touch. Then, open it up and it should look about like this:
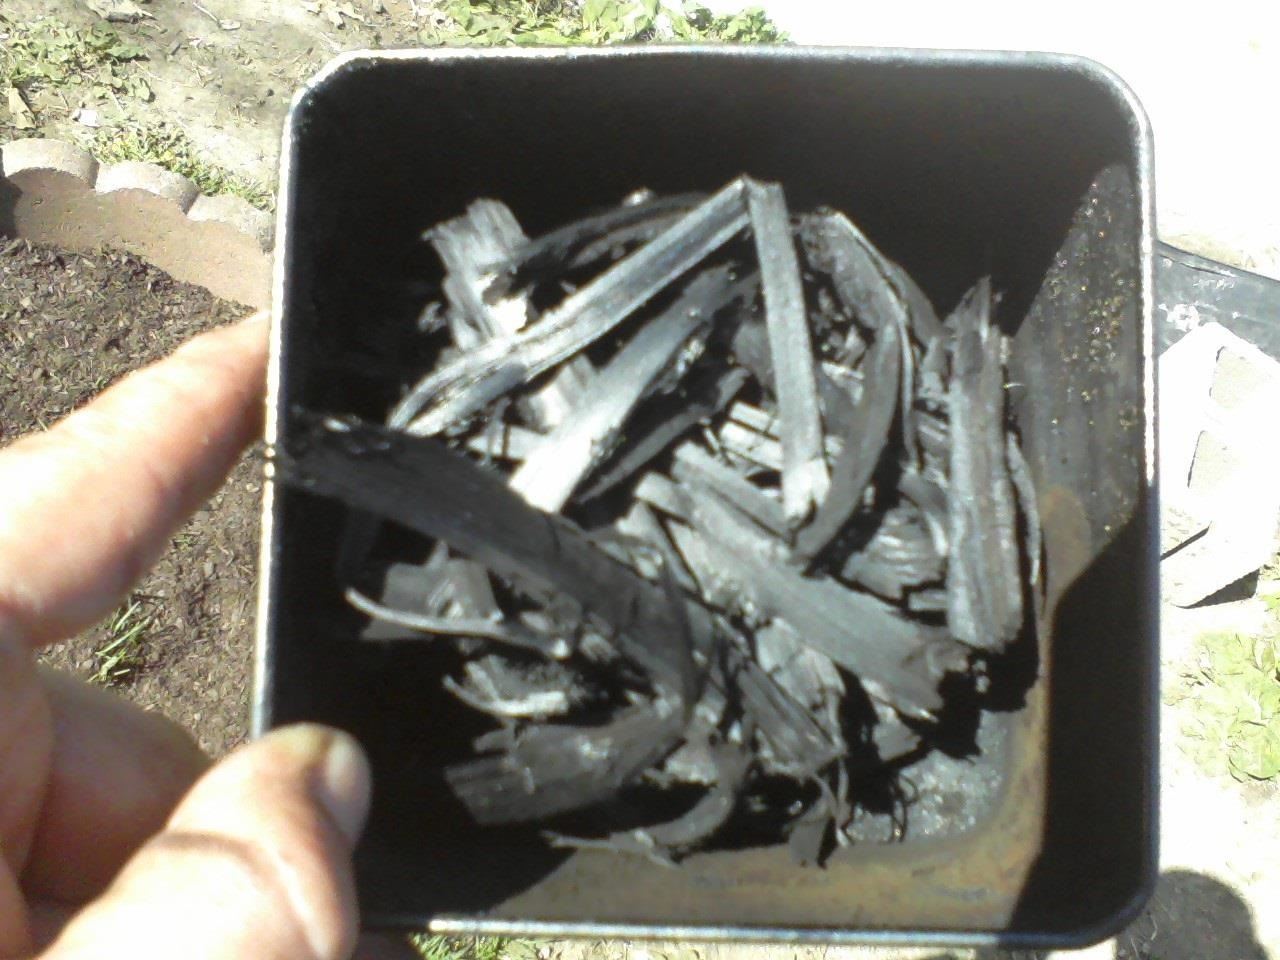
Now look it over and see how you did. If you did it right, there should be no actual wood remaining, and little to no ash. For a test, take a big piece and snap it in two. It should snap easily, like this:
And that about does it! As you can see, it isn't very hard, and the process of finding uses for it is just as interesting as making it.
Step 4: Use Your Homemade Charcoal
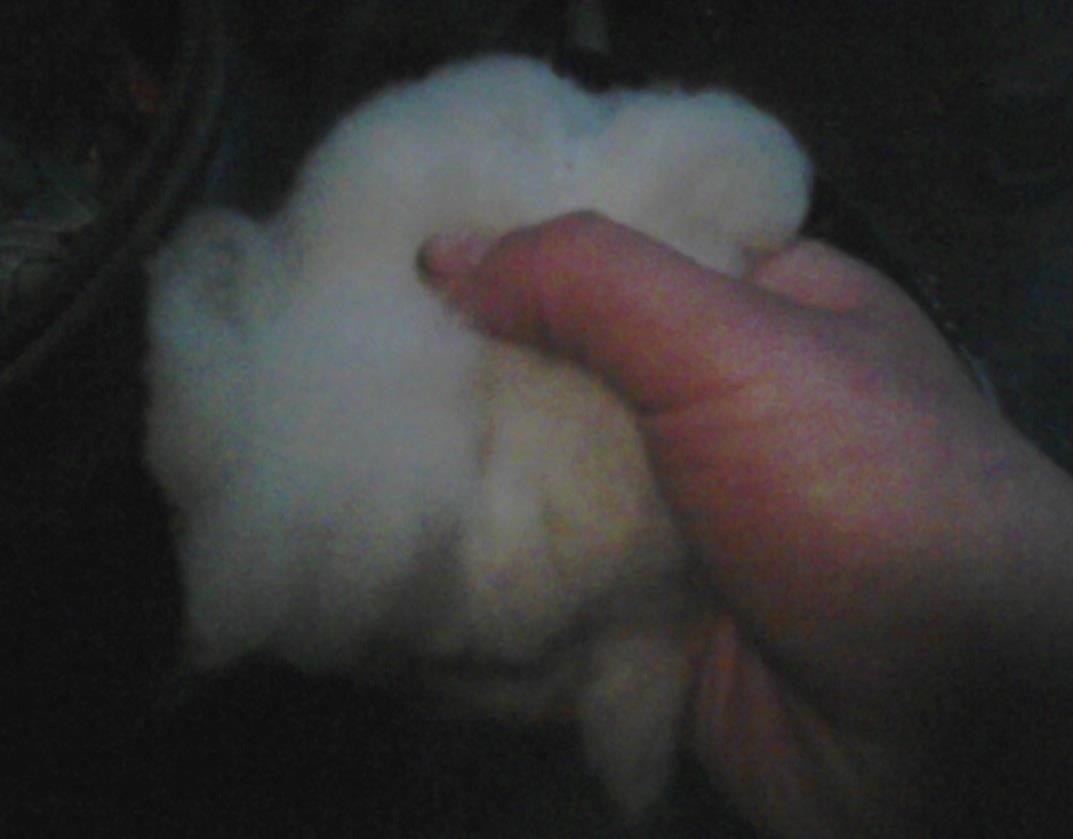
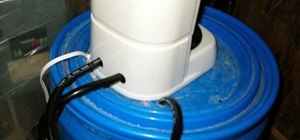
For a start, here's one thing that I do: Instead of buying replacement filters for your aquarium, just do this: take a piece of clean cotton, and put a little handful of charcoal in the middle of it.

Not a good picture, I know...looks kinda like turds on a cloud. Anyway, just fold it up so that the charcoal is inside the cotton:
And just stick it where the replacement filter would normally go:

Once again, it's a shitty picture, but I think you can figure it out. This little money-saving trick works because the replacement filters you buy from the pet store are basically nothing but cotton and carbon, and charcoal is mostly carbon.
Anyway, have fun people.
Just updated your iPhone? You'll find new emoji, enhanced security, podcast transcripts, Apple Cash virtual numbers, and other useful features. There are even new additions hidden within Safari. Find out what's new and changed on your iPhone with the iOS 17.4 update.


7 Comments
Hey,
I was wondering if you had any advice on making charcoal from beef/pork bones.
Thanks!
honestly, I have never made it from bones, but from what I understand it used to be common for people to do so. It will probably smell awful as it cooks but I'd recommend trying it with the method above. It certainly won't hurt anything. Only difference I can think of is that you would need to break the bones by smashing them into pieces with a rock or a hammer or something. Good luck!
Thank You for this. I was wondering if the larger the batch the longer it takes? I might make a bunch of small batches for cooking. The only way I can do this is on my bbq pit.
yes sir, it takes much longer with a bigger batch. The biggest thing I've ever used was a steel oil drum, but it took a LOT longer to get done! Also, for a beginner it is good to avoid making huge batches, as they require more precise monitoring. With a big batch, you have to be good at recognizing that moment when the wood has become charcoal because if you overcook, it can turn everything to ash.
Read your article and would like to correct a mistake you made in it regarding hardwood and softwood charcoal. Hardwood charcoal DOES NOT burn hotter than softwood charcoal. Softwood charcoal burns far hotter and was traditionally used in the smelting of metals and still is by some traditional blacksmiths, whereas hardwood charcoal does not reach the heat temperature required in metal smelting. We make batches of 50 kg (finished weight) at a time using the retort method at our factory in Scotland as a means of using our waste from our main business of Log Cabin Manufacture, and we extract the Pine Tars from the waste to use as traditional natural wood preserver, and our by-product of this process is lump wood charcoal. Each batch takes around 5 hours to make. Charcoal to be used in filters should first be activated to increase the surface area of the charcoal, and this can either be done by very high temperatures of chemically. We produce our activated charcoal through chemical activation using a safe non toxic chemical to produce the increased surface area. 1 gram of activated charcoal can have a surface area of 500 m2 (5,400 square feet) which is massive consider the quantity of charcoal involved. Anyone interested in other facts and uses about charcoal, please feel free to contact me, and i will be only too happy to help answer your questions where i can.
Good morning,
I'm interested in any simple amendments that you would suggest on the steps in this article, to make activated charcoal in small quantities with the method you use for large quantities in Scotland. Another article mentions adding pickle crisp (calcium carbonate) to the charcoal.
Our activated charcoal would be used for refilling our manufactured water filter cartridges and making water purifiers (5 gallon bucket, 55 gallon drum).
We'd need it to be able to filter out chemicals/pesticides/VOC's. I haven't yet seen a DIY article that has performed water quality testing, and so we'd probably make a small batch, repack a filter, and have the water lab tested before assuming it's sufficient.
I was also wondering if the activated charcoal could be made in a barbeque.
I appreciate your help; thanks and God bless you.
Thanks for the how-to! I'm definitely going to give this a try! I've been looking for ways to be more efficient in the wilderness. This will help a lot!
Share Your Thoughts