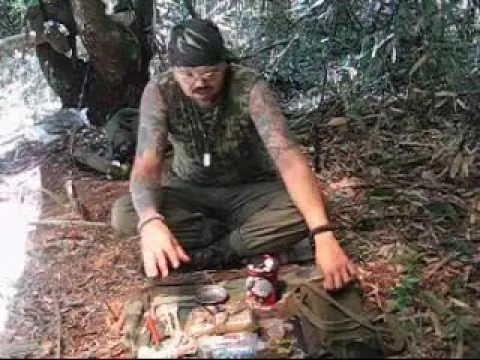
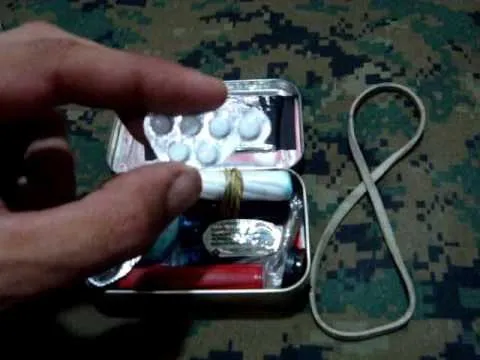
Trending about Survival Training


how to
How to Tie a Hangman's Noose Knot
how to
How to Identify Flint and Other Types of Sparking Rocks to Light a Fire
how to
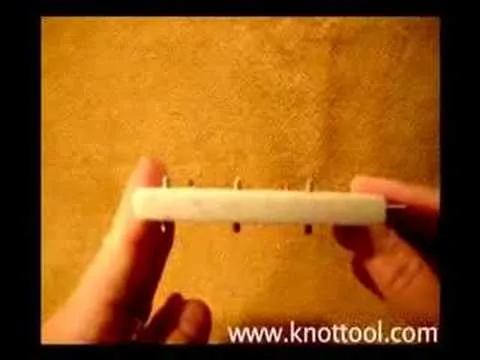
How to Tie a 6 Lead by 7 Bight Knot on the Turks Head Tool


Featured On WonderHowTo:
Productivity & Shortcuts


Featured On WonderHowTo:
Music & Audio


Featured On WonderHowTo:
Augmented Reality


Featured On WonderHowTo:
Gaming